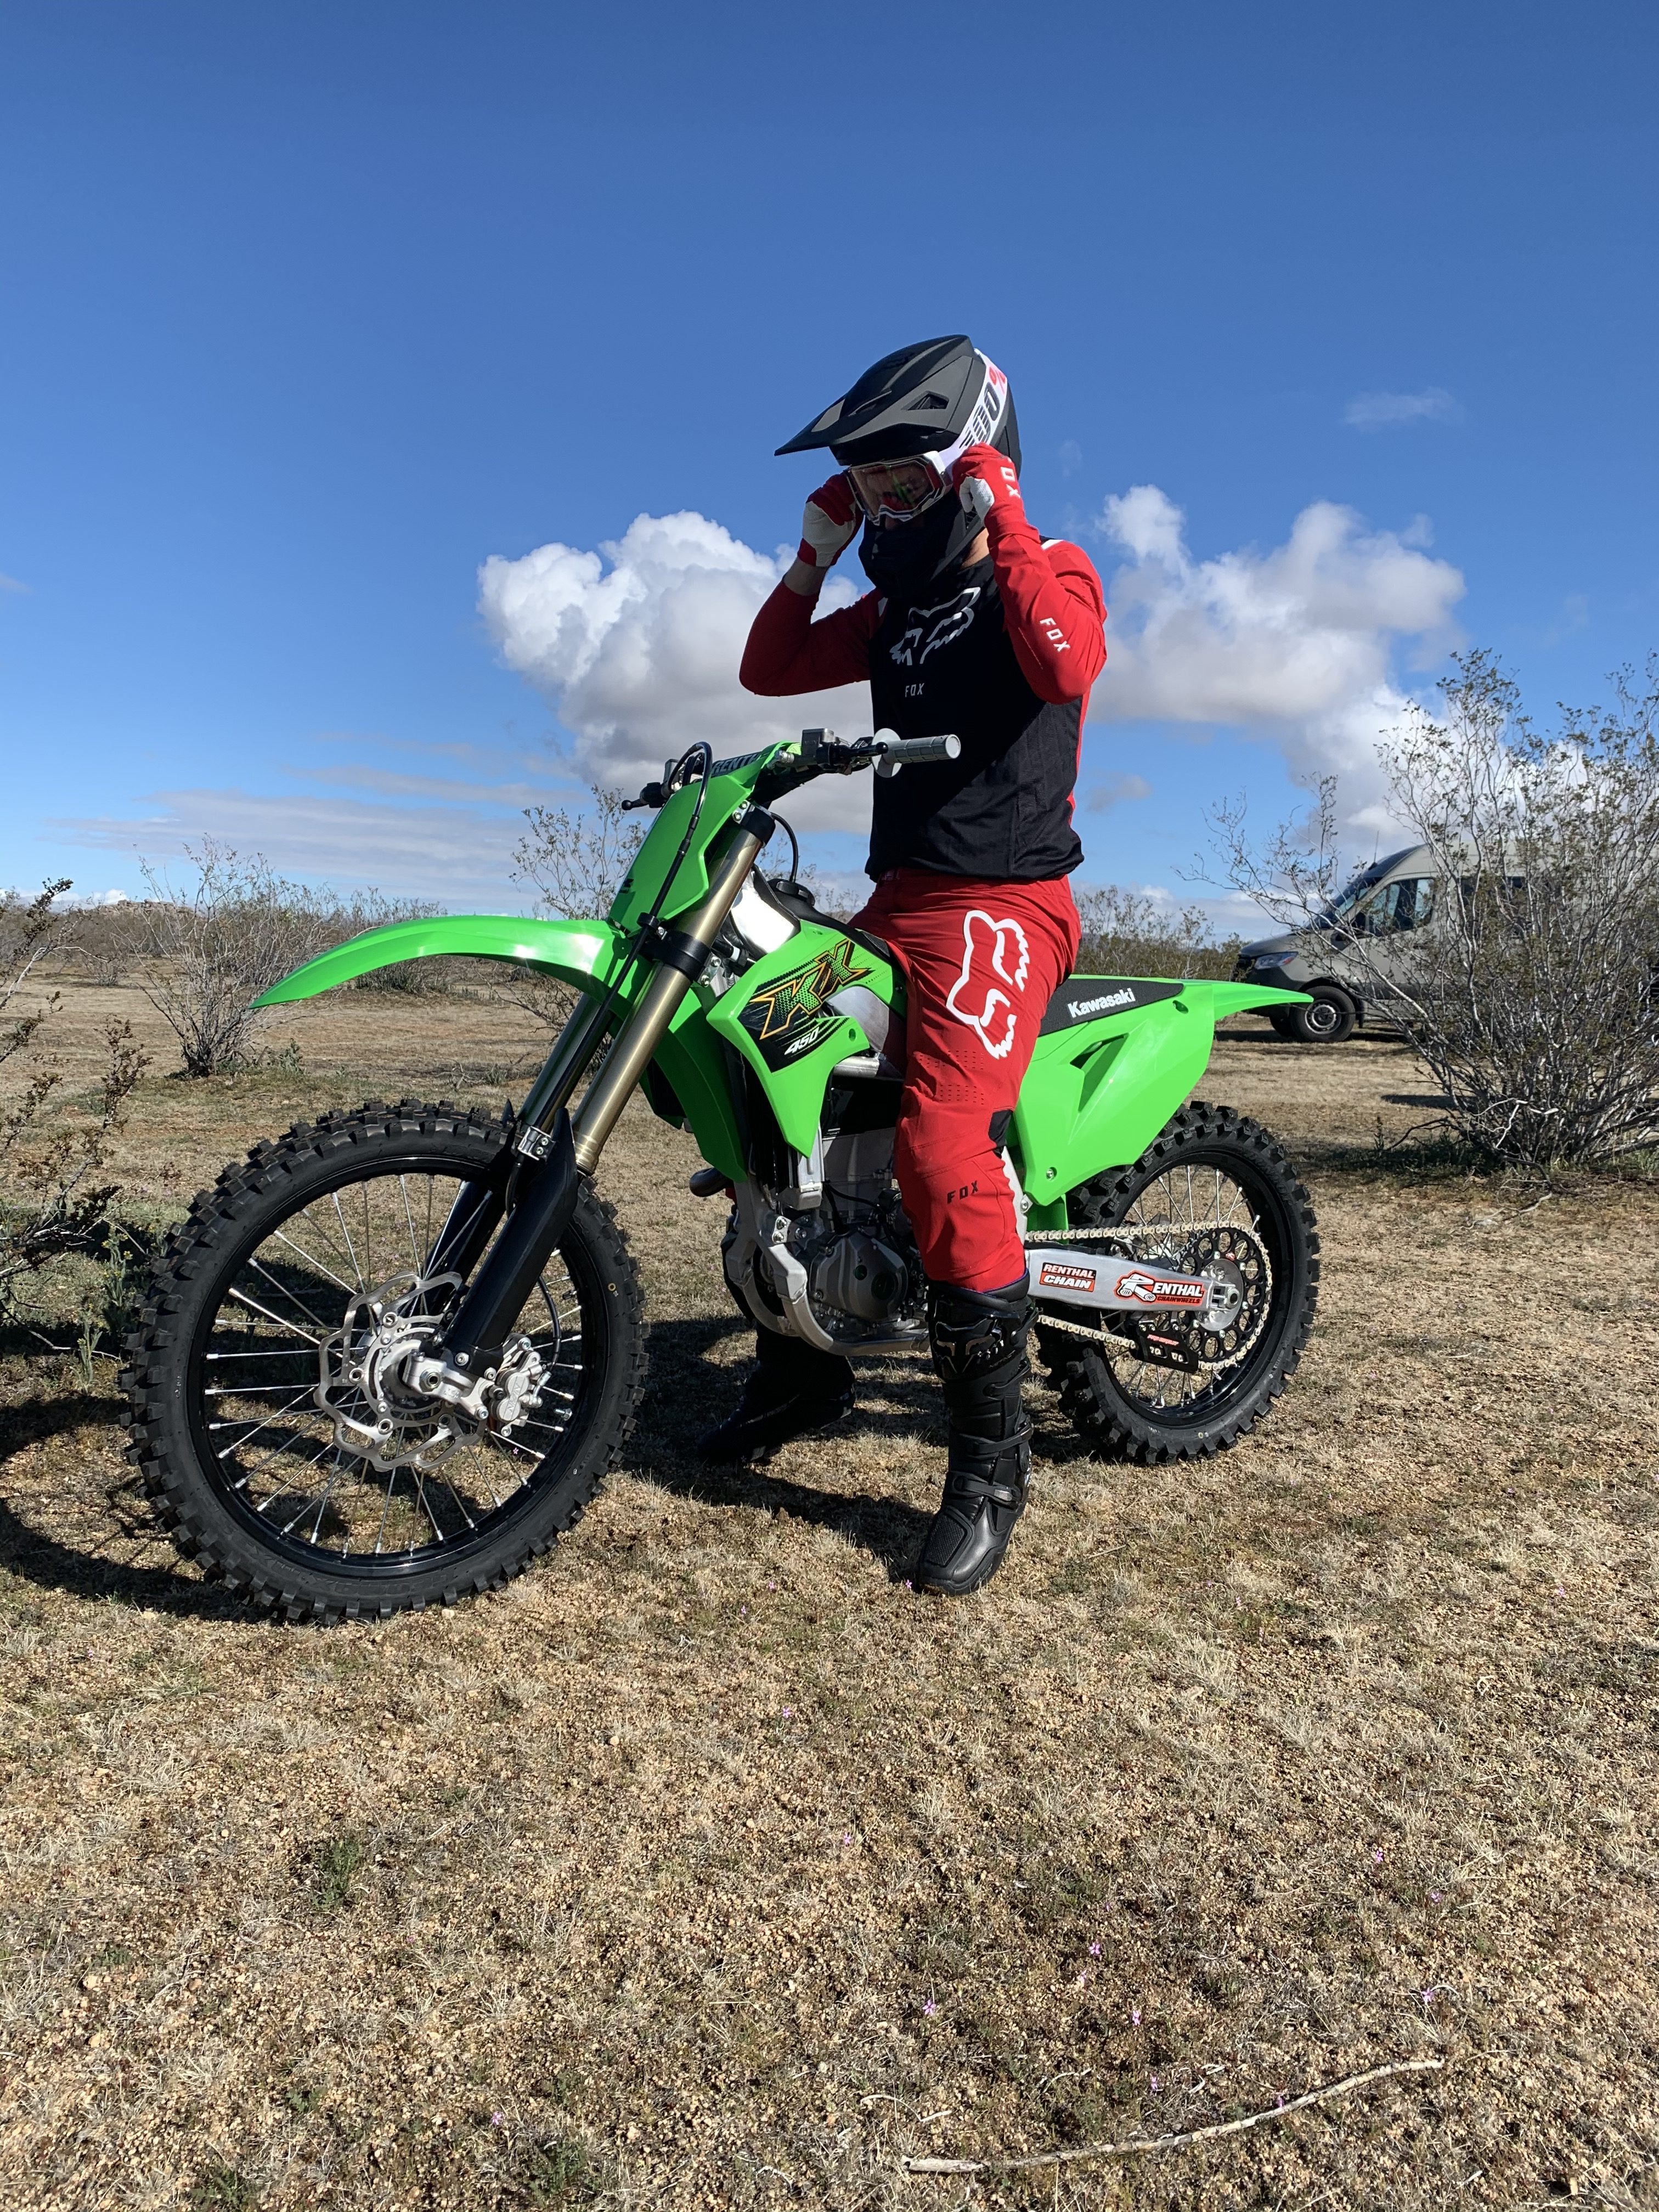
I get more emails about this subject than I would have ever imagined, so I thought why not pick five things you should do to your brand new steed before riding her. Here are five important tasks you can perform before you hit the track or trail to ensure your bike stays fresh longer as well as perform at its best.
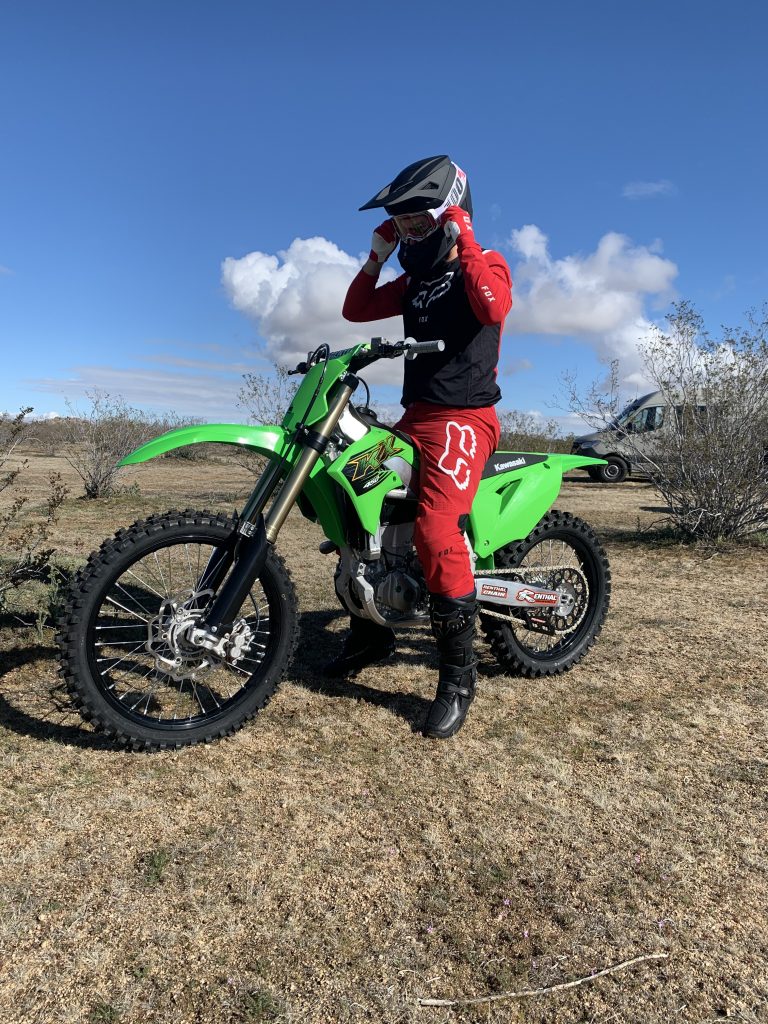
Check Bolts: Don’t assume because you pay the set up fee at your local dealer that all of your bolts are going to be tight when you take it home. I would say 80% of the dealers that I have purchased a bike through have half assed my set up. I would go home to find the chain loose or my bars raised up like a beach cruiser. Go home, put the bike on a stand and go through all major mounting points. Read the manual for recommended torque specs and try to follow those guidelines as closely as you can. The manual and specs are there for a reason! Use them.
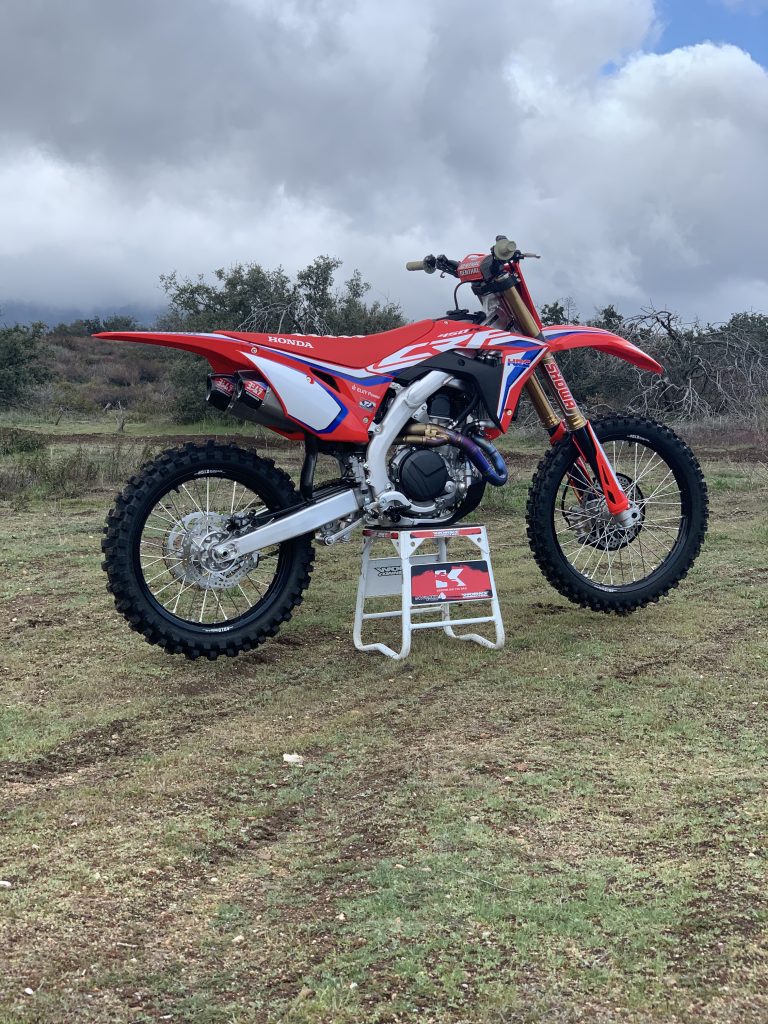
Set Up Your Riding Triangle: Take the time to set the bars in the shop/garage before getting to the track. Sitting on the bike (without the bike being on the stand) and feeling if your bars/levers are in the correct position, before you get to the track, can save you some extra riding time. Chances are if you don’t do this in your garage, you will get to the track and be so excited to ride, that you’ll forget to adjust. Make it easier on yourself and spend some time with your new ride out in the garage, maybe with some classic rock on! Plus doing this in the garage just gives you more time to geek out on your new bike!
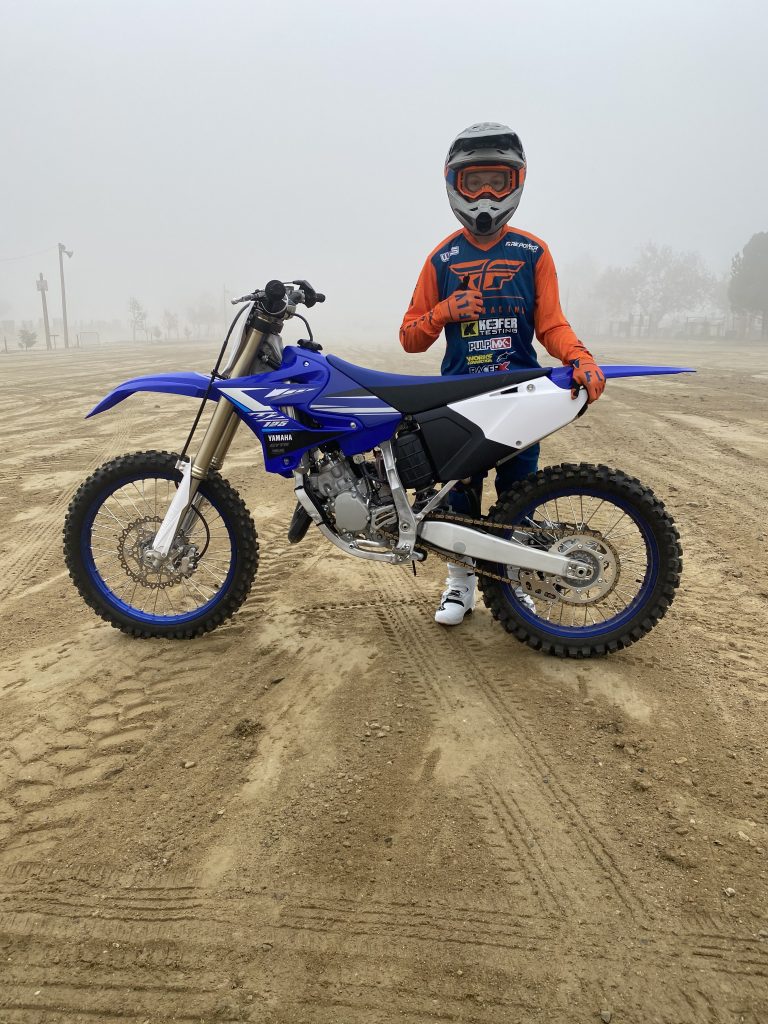
Check Sag: I will ask a guy at the track what he set his sag at on his new bike and most of these dudes tell me they don’t know because they didn’t do it yet. Do it before you get on the track. Checking your sag or not can be the difference in having a good handling bike or an unbalanced feeling motorcycle. Put all of your gear on when checking sag! Don’t do it in your street clothes and don’t check it when your bike is packed with mud. You can check your sag by either standing or sitting, but always make sure you do it the same every time.
Check Tire Pressure: While you’re in the garage checking your bolts, make sure to check the tire pressure in those fresh knobbies of yours. Typically anywhere between 13-14 PSI will be the norm with any new tire that comes on a MX machine. Most likely your new tires will have around 35 psi in them.
Grease Linkage And Head Bearings: This is something that I am guilty for not doing enough, but regardless I know the importance of doing it. Most manufacturers bikes come with cheap grease and/or not enough in the headset/linkage bearings. If you can take apart these two areas of your new bike, I can guarantee you that your new bike will feel newer longer. I have done this to a few of my machines before I have broke it in and it was noticeable difference after the 25 hour mark or so. Don’t skimp out or be lazy.
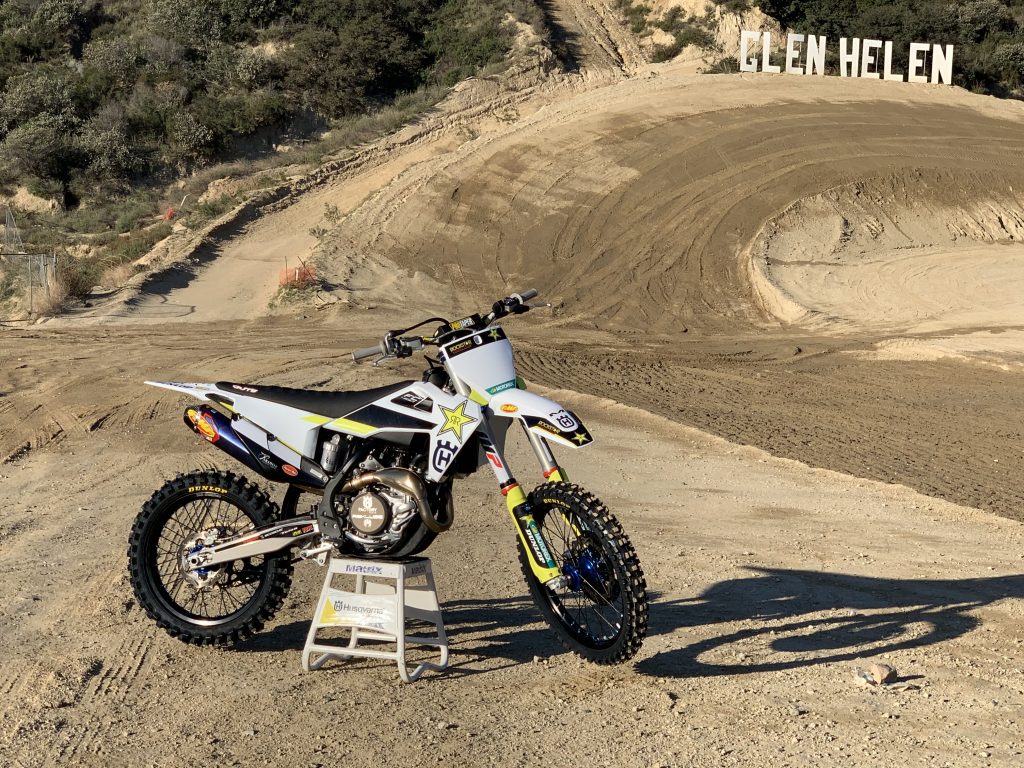
Bonus Tip: Take a photo of your new bike! It will never look like this again! Tag me in your new bike photos on Instagram at @keeferinctesting.
Break In Period: So what exactly is the best break in procedure? The answer to this question is very subjective, but this is how the manufacturers do it for us media guys:
Moto 1: 15 minutes at various throttle positions, but don’t go over 60% throttle (Cruise). Then cool down.
Moto 2: 15 minutes at various throttle positions, but don’t go over 80% throttle. Then cool down.
Moto 3: 15 minutes at various throttle positions, but don’t go over 90% throttle. Then cool down.
Moto 4: 15 minutes at normal speed. Then cool down.
DONE! Ride how you please.
After break in make sure to change the oil and oil filter to the recommended oil/oil level in your owners manual.
If you have any new questions please feel free to email me at kris@keeferinctesting.com

