We’re doing it again although we’re not exactly sure why
We’re doing it again although we’re not exactly sure why
FOR PART ONE OF THE REBUILD GO HERE
 |
|
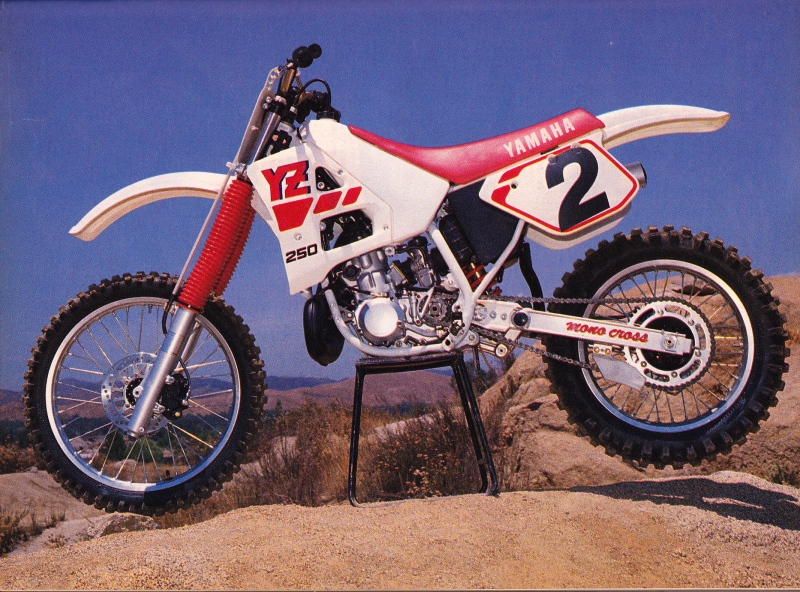
Here’s the bike we’re trying to get to. With a few key differences to make it look cooler of course.
|
 |
|
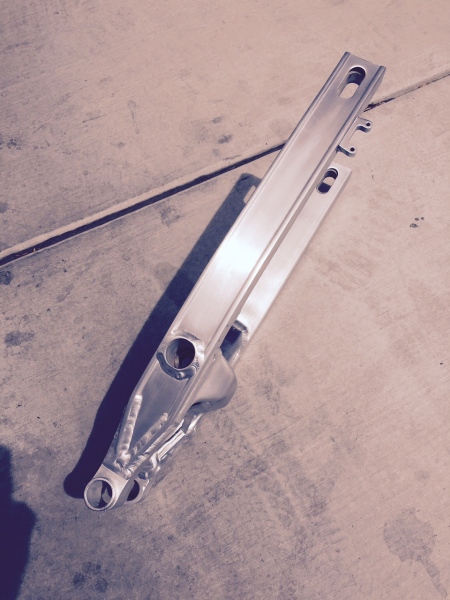
With #project90 we took the swingarm, tried a bunch of paint strippers, found the best one, burnt our skin and took hours and hours to get all the paint off and get that factory look. Eff that…so with #project88 we took the swingarm to a small shop where they stripped the paint and really gave it a nice polish for $100. It looks great, ready for Pivot Works bearing installation using the press at Berluti’s house.
 |
|
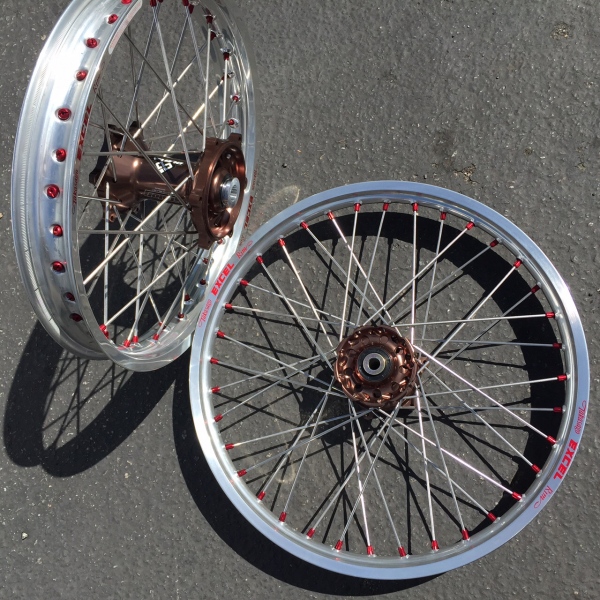
Lots of decisions to make with the wheels. Stock, they were hammered. One thought was taking the stock hubs, getting them turned down and use this process where it’s kind of anodized. Then there was the DUBYA USA route of just buying a whole new set of wheels which I decided to do. Then it was rim/hub color to decide on. I wanted to go with the mag color route which Talon had a nice color that some teams have used over the years. I went with black rims on #project90 but that wasn’t an option for this bike. Gold or silver were the finalists with silver winning out. The red spoke nipples were a last minute addition and I like it. Thanks to DUBYA USA for helping me out with these. The stock clamps are painted black up top and natural aluminum on the bottom so to match the hubs, I’m getting both top and bottom anodized close to the same color.
 |
|
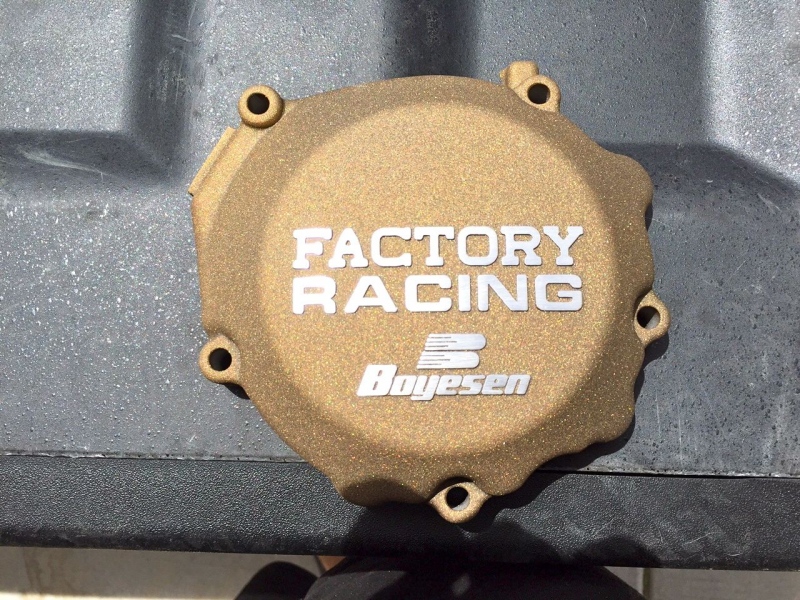
I’m not usually a fan of these Boyesen covers, I just put a stock one on #project90 instead of going this route but I saw one in real life somewhere and thought that the color would kind of match the clamps and hubs. So I decided to get one at BTOSports.com using the Pulpmx code to save myself cash. I’m still not sold on it to be honest but we’ll see what she looks like once mounted up.
 |
|
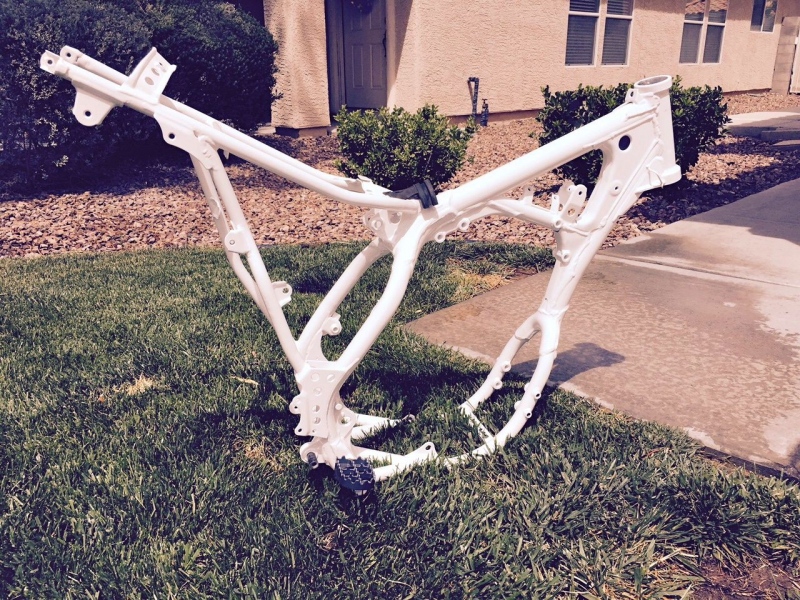
The frame was a bigger job than I thought. I stripped the bike down and there were some serious issues with it. Holes on the bottom by the pegs, a hole or two up on the rear section (like, just holes) and someone had tried to..uhhh, fix the holes on the bottom but actually made it way worse. It kind of looked like a four-year old had tried to weld a piece of metal over the holes and then paint it. So this all had to get fixed and the powder coated place had a guy who did a pretty good job patching it up. Anyways, here’s the frame ready to get put back together.
The stock pegs were discontinued and the ones that came with it were hammered so I got a set of IMS ones that are way beefier than the ones that came with and they look pretty good also.
 |
|
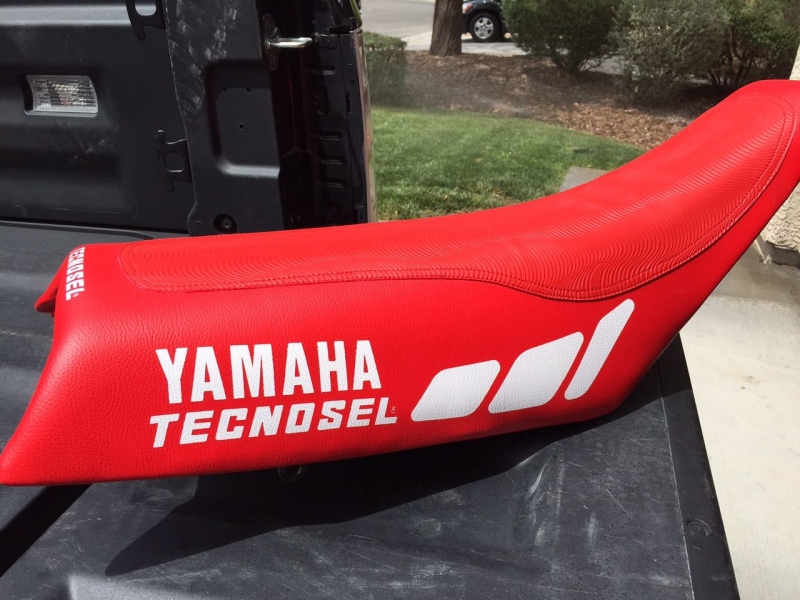
I remember looking at these covers in magazines back in the day and always liked them. They just scream “factory bro!” don’t you think? I found this in Italy for $120 bucks USD (Yikes!) but I had to have it. It’s not overdone at all, just a nice touch to match the stock graphics. The boys at GUTS Racing had a foam in stock for this bike and dialed me in with the installation and everything. Thanks guys!
|
|
|
|
|
 |
|
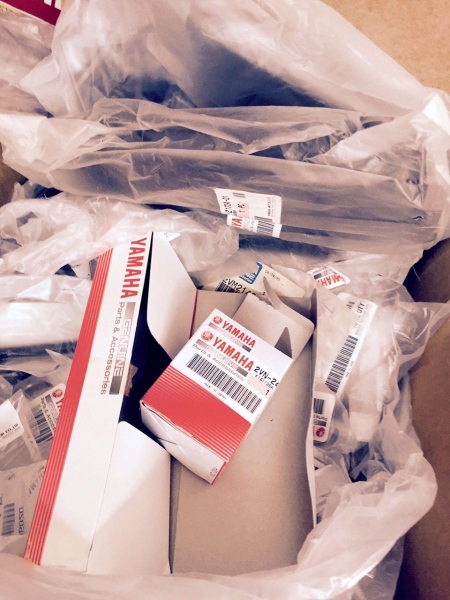
I’ve got a lot of Yamaha parts sitting around thanks to the guys at Babbitt’s who have been hooking me up with a great price and service this whole time for both bikes. Yamaha’s got a lot more parts that are discontinued than Kawasaki, I’ll tell you that. I’m going to have to rebuild and get the paint stripped off the rear caliper and front master cylinder because they’re NOS and mine are hammered. Not a huge deal, also I ordered a tank from Clarke because you can’t get a stock one and the one I have has, of course, turned yellow.
 |
|
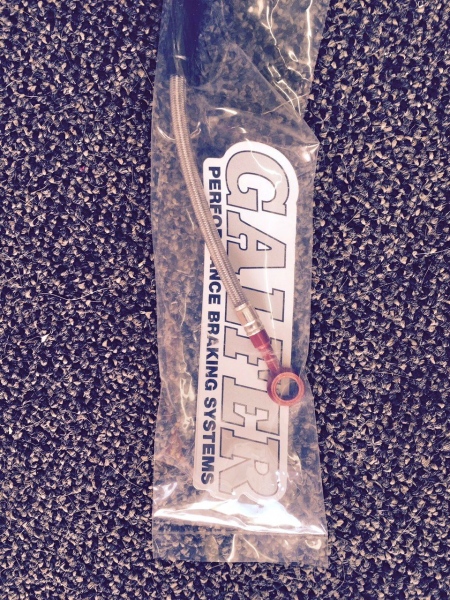
My friends at Galfer Brakes had a line in stock for the front brake and had to custom make me a rear one off the one I sent them. The red banjos are a nice touch don’t you think?
 |
|
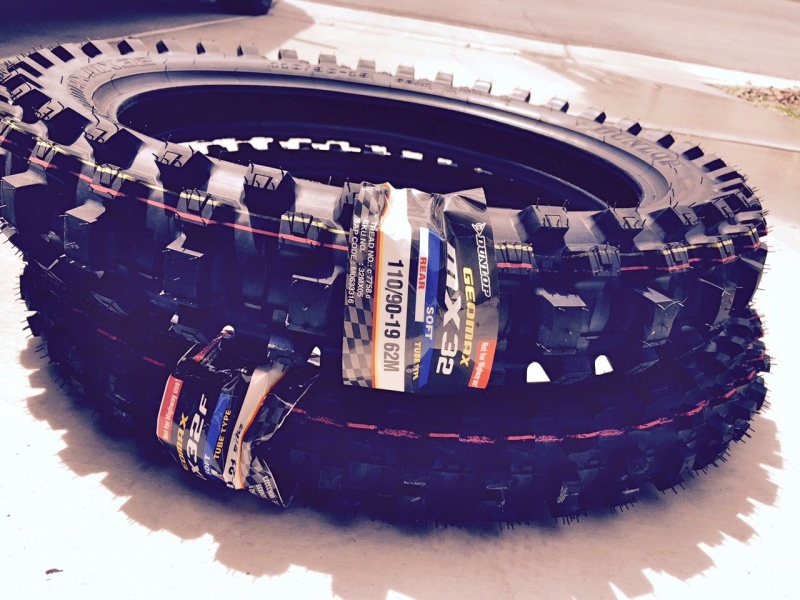
Dunlop hooked me up with some GEOMAX’s, tubes and rim locks for the new bike. The stock bike came with an 18′ rear wheel and DUBYA gave me the option to have one of those built for me but I went with the 19′ because it just opens up the tire options down the road. So sue me…
|
|
|
 |
|
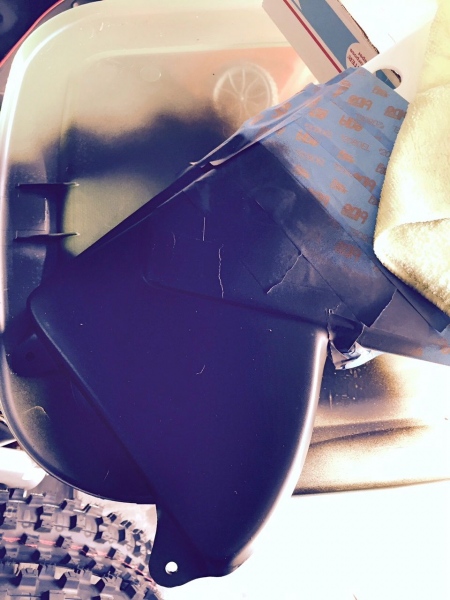
We had an issue with the side panels in that you see the bike up top there in the photo? Yeah, the airbox is black which is I guess how they came. The year after, in 1989, they made the airbox a top loading box and the panel was just this little short thing. But in 1988, it was all built into the side panel. Which is weird but whatever. The problem is I ordered some UFO side panels and the left one came as if it were an ’89 so there was no airbox cover!
So I thought about trying to fit an ’89 airbox into the ’88 frame but the ’89 had one bar removable and it didn’t look like it was going to fit. The real deal 1988 side panels on eBay had the airbox cover white which to me, looks janky. This was probably a three-hour ordeal looking at part numbers, trying to make it work, thinking about the white ’88 panels and so on and so on. No other way around it really, I couldn’t leave it white so I ordered the ’88 panels on eBay (of course I couldn’t just order one side so now I have UFO right side panel that works great and this DC Plastic company left side that works great. Anyone want to buy an ’89 UFO left side panel and an ’88 DC right side panel from me?) and a little bit of sanding, masking and painting later, I have my elusive black airbox cover. Let’s hope it stays that way right?
 |
|
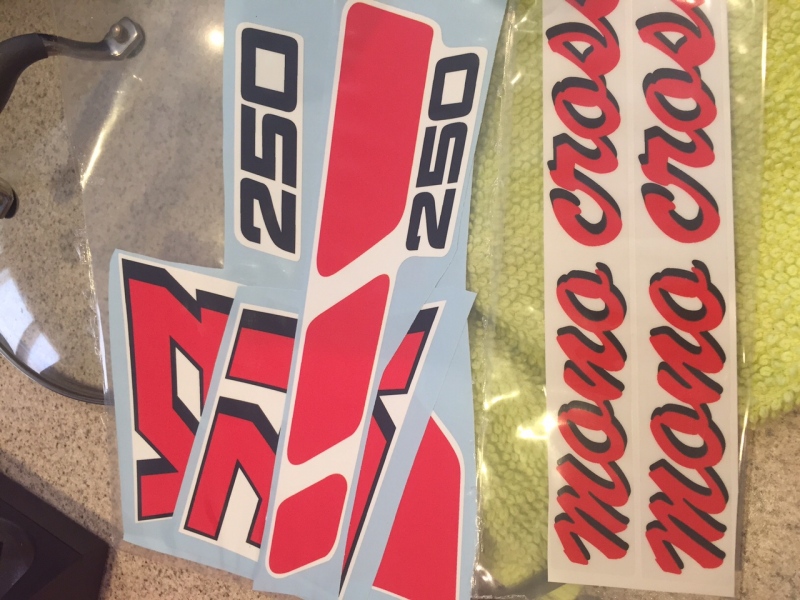
Found some replica graphics out there for the swingarm and shrouds. Nice quality and a great reproduction. We’ve got a guy to ride this thing like we did for #project90 but you’ll have to wait and see who.
|
|
 |
|
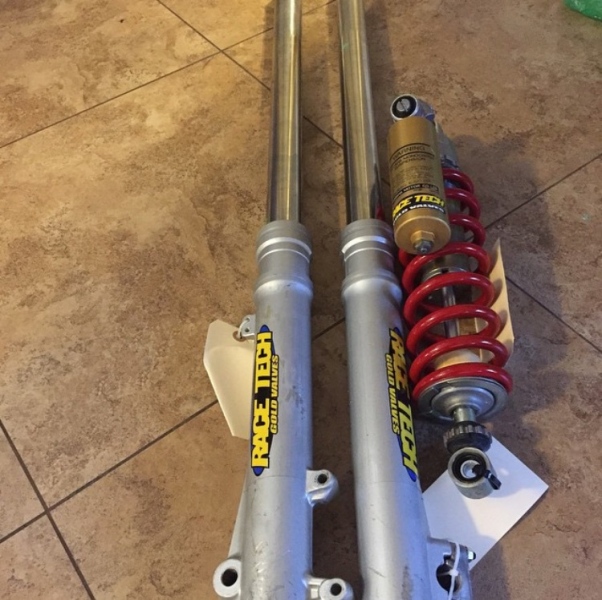
Race Tech took the stock suspension (forks on the bike when I got it were USD so I got these off eBay) and replaced seals, bushings and oil. They revalved it, sprung it and it’s ready to go. A guy out there on some site had an Ohlins for this bike but he wanted $500 bucks for it. That was too much for me for a beat down shock (although the cool factor would have been high) so I just kept the stocker.
|
