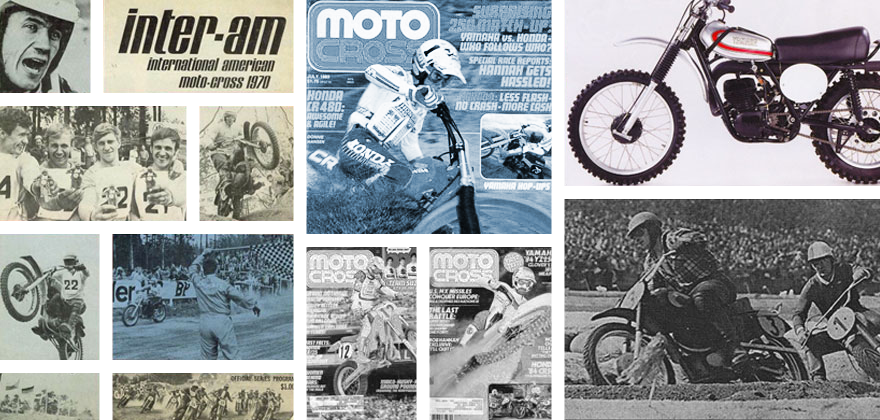
Well, at this point I am four months into Project 90 and my CR is still in a million pieces.
Well, at this point I am four months into Project 90 and my CR is still in a million pieces.
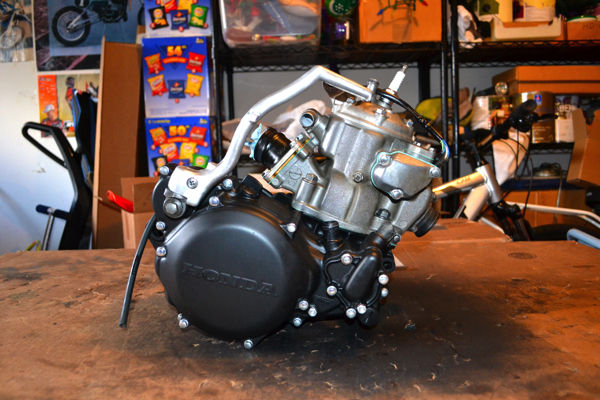
Race Tech has my suspension out in California and is rebuilding everything and adding their Gold Valves to the forks and shock. They worked miracles on both of my 1983 CR480R’s a few years back and I am really looking forward to trying the new suspension out. My frame is currently at a buddy of mine’s body shop waiting for the proper paint to arrive so he can power coat it up. Pretty much the only thing I have back together is the engine, which is all bolted up and freshly painted waiting for a happy reunion with the frame. Hopefully, in the next month or so, I will actually be able to start piecing things back together and get the old girl looking like a motorcycle again.
 |
|
Back together and ready to rip, my 249cc powerhouse looks pretty sweet with a fresh coat of paint and a little spit and polish. I swapped out all the stock black bolts for some new shiny ones, a touch I always loved on the Factory bikes back in the day. Now I’m just waiting for my sweet HRC replica covers to be done and then the badass factor will be taken up to eleven. |
 |
|
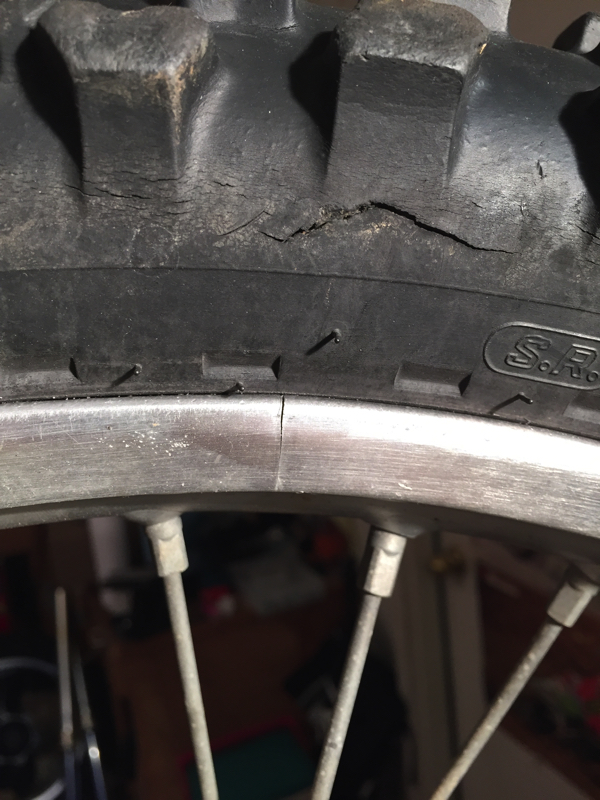
As I mentioned in installment 2, the stock rims on these CR’s were pretty suspect and I used to go through them pretty regularly back in the day. Well, once I got around to pulling the wheels off and giving them a good once over, I found this familiar crack in the front one. I was already planning to have Dubya lace me up new ones, so this was no major blow to the project. |
 |
|
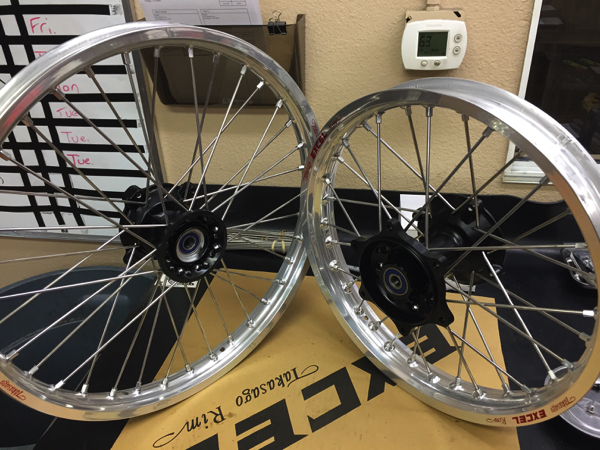
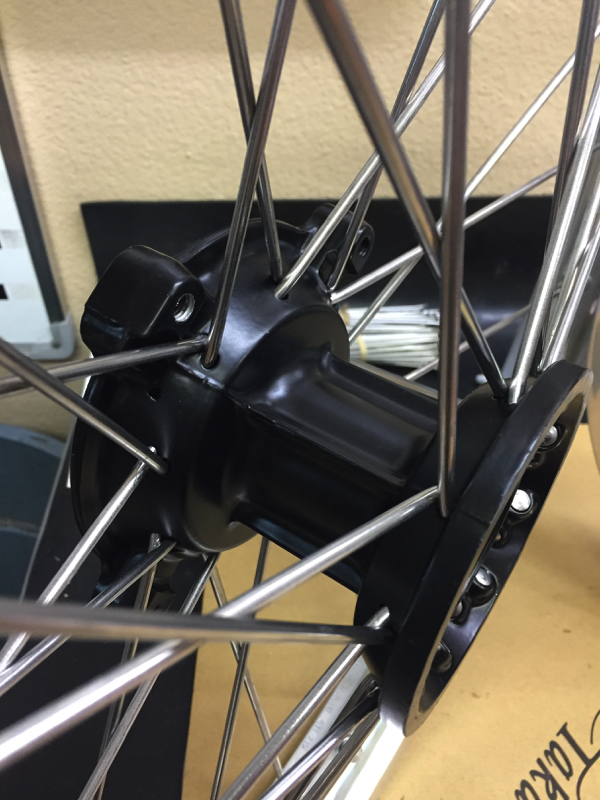
Since I was going for a Factory replica look on Project 90, I decided to stick to silver rims and spokes with black hubs. John Anderson at Dubya USA hooked me up with a new set of Takasago Excel rims, spokes and nipples and mated them to the stock hubs. I stuck with the 18” rear out back, but I certainly could have gone with a 19”, as that is what the Factory team ran in 1990. |
 |
|
In order to freshen up the appearance of my beaten stock wheels, Dubya was kind enough to powered coat the stock hubs back to their factory fresh appearance. |
If you are looking to upgrade the wheels on your current scoot, use the contact us form on www.pulpmx.comfor a Pulp discount.
 |
|
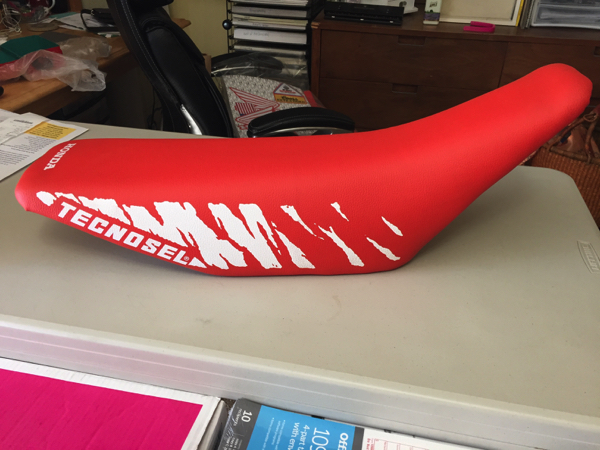
By far my biggest aggravation so far has come from this stupid seat cover. In fairness, I have always hated fighting with these damn things and am no expert at them. I have tried several times to get it on with no wrinkles, to no avail. I finally took it to my buddies at Loudoun Motorsports here in Leesburg, VA and Steve in the shop was able to get it snug. Now the only problem is IT DOES NOT FIT the tank properly. UGH! By pulling it tight at the front, it deforms the foam and makes it look odd at the seat/tank juncture. Because the foam sticks out a good two inches past the seat pan, it is really easy to squash the foam and it is designed to sit flush against the tank. I may end up trying a different cover and attacking it with a heat gun to see if I can get a satisfactory outcome. Double UGH!!! |
 |
|
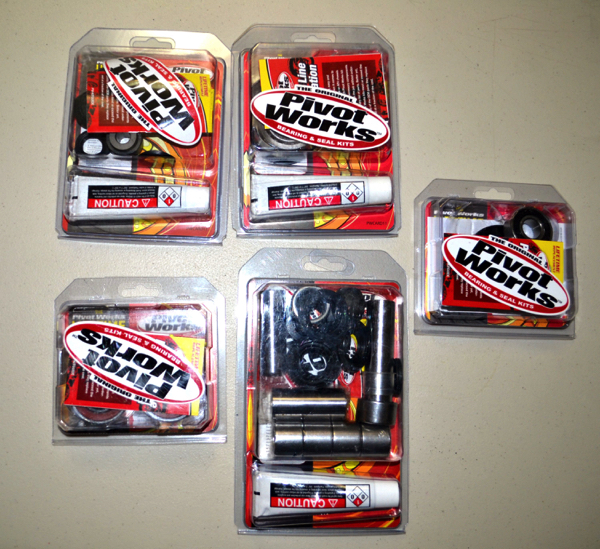
Predictably for a bike ridden in the dunes, fine sand has worked its way into everything and the current ratio of grease-to-sand stands at about 60:40. Thankfully I picked up some new bearings from the nice folks at Pivot Works and I am going to swap out everything while I have the bike apart. They offer kits for just about any bike imaginable and they include everything you need, even the grease. Make sure to use our code “Pulpmx16” at checkout for a sweet discount. |
 |
|
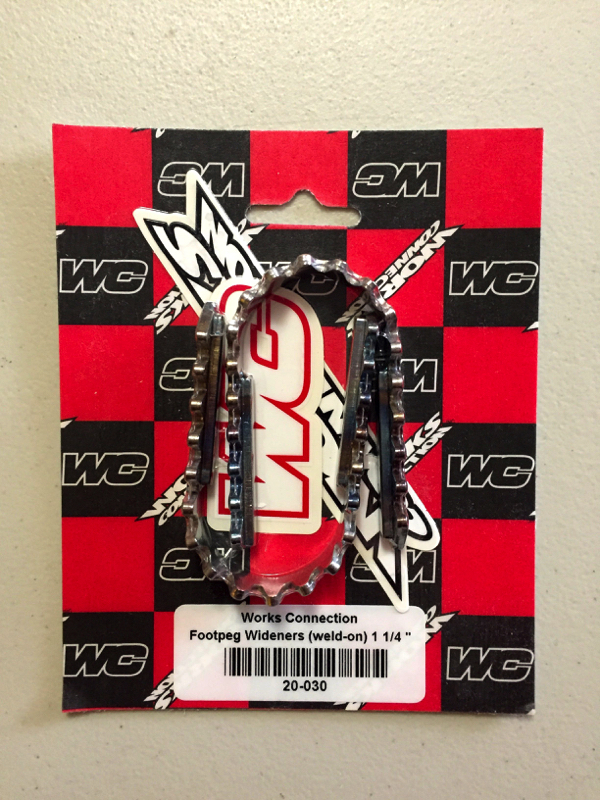
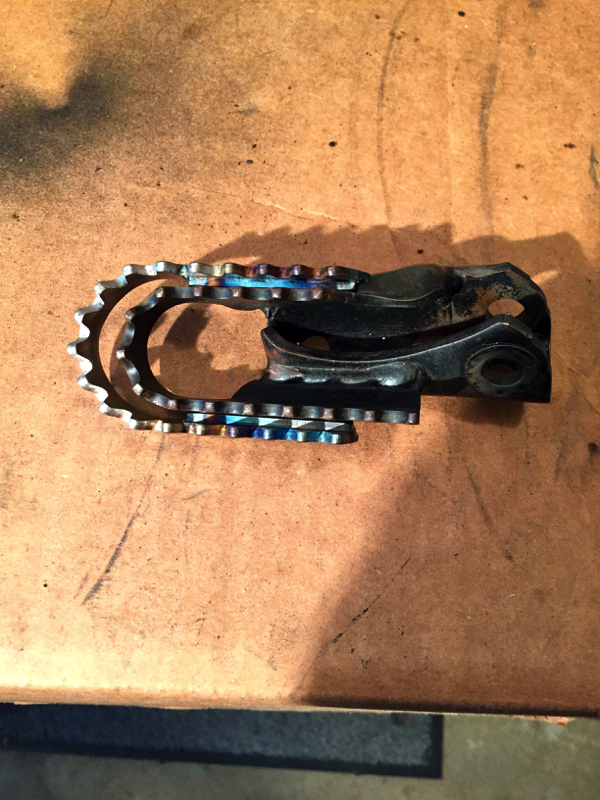
The stock pegs on a 1990 CR are literally half the width of anything seen on a modern machine. While I did not mind it in ’90, now I’ve been spoiled by the floor boards used on modern machines. In order to bring Project 90 up to modern standards, I contacted the folks at Works Connection and ordered up some of their peg widening kits. These kits are easy to install and roughly half the cost of a set of aftermarket pegs. |
 |
|
The Works Connection wideners increase the length and width of the stock pegs and give the bike a more modern feel. Trust me, you will be glad you got them the first time you come up short on something. |
 |
|
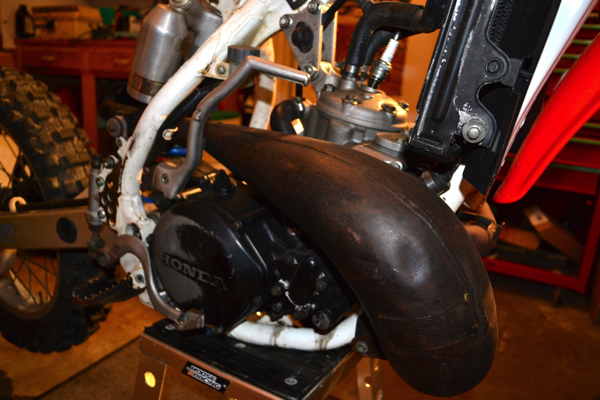
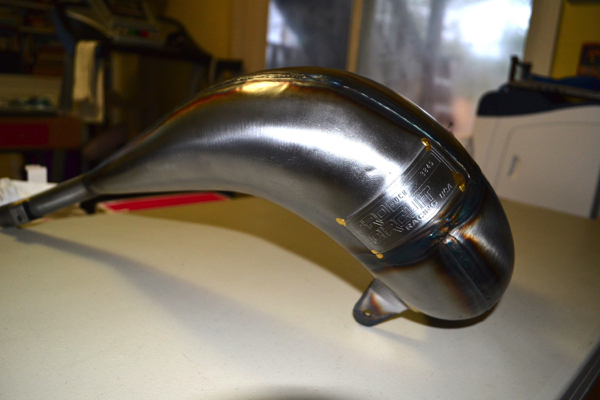
The Pro Circuit pipe that came with the bike was in decent shape structurally, but pretty beat cosmetically. After I posted the first installment of this rebuild on the site, Scott White at Pacific Crest Pipe Repair contacted me and said he could bring my rusted and beaten PC pipe back to life. A week later, I sent the pipe out to Oregon to see what he could do. |
 |
|
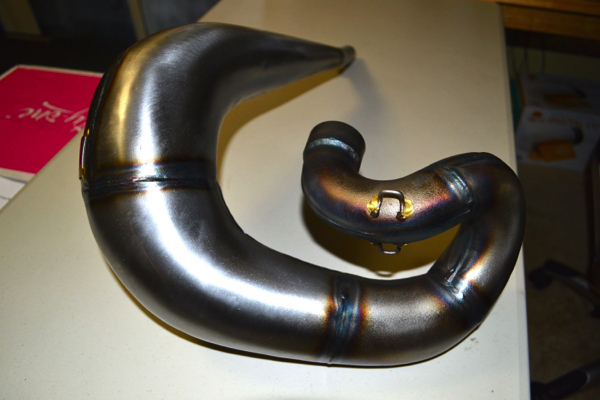
WOW, just WOW. To say I was blown away by what I got back from Scott is a major understatement. He not only got out 95% of the dents in the pipe, he brought it back to a better than new finish and gave it that coveted “works” look to boot. |
 |
|
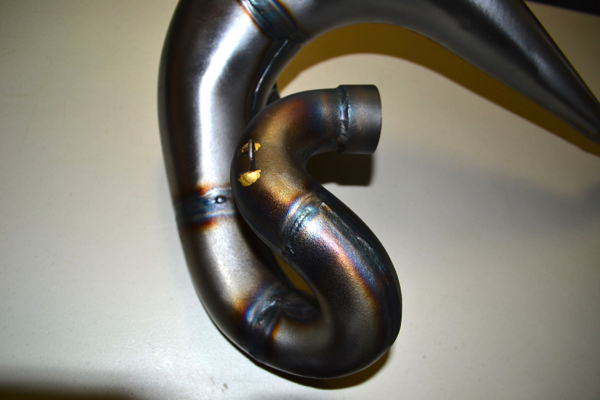
My 20 year old PC pipe now looks like Mitch just got done welding it up and that super trick blued finish absolutely screams Factory. |
 |
|
You can really see the badass color of the pipe in this pic. I tried to capture it the best I could, but it is hard to show how cool it looks in person. Scott and the guys at Pipe Repair can mend your dented smoker pipe for $60 and it is only an additional $30 to get that works look. Any way you look at it that seems like a screaming bargain for such quality work. |
Pacific Crest Pipe Repair
541-664-0400
 |
|
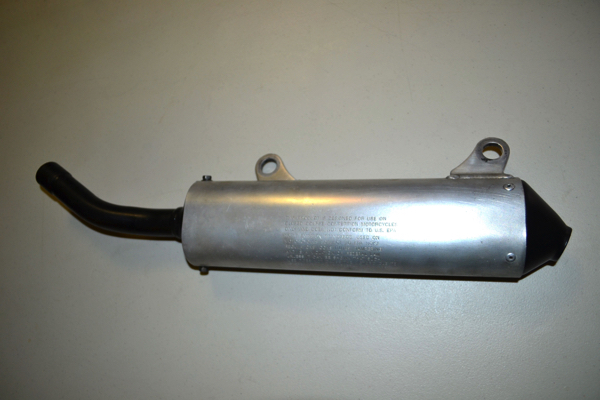
The silencer thing is always a problem on classic bikes. Back in 1990, aftermarket silencers had trick turned-down stinger tips. Unfortunately, the FIM saw fit to ban them in the late nineties (A move that made no sense to me in light of the spinning buzz saw attached to the rear wheel, razor sharp pegs we stand on and scorching hot motor. I mean seriously, the stinger is the thing that they think is dangerous!?! ) so any silencer you get now looks odd and out of place on an old bike. Thankfully, the Factory bikes actually ran modifies stock silencers on the works bikes in 1990, so sourcing a suitable replacement was not too hard. I scored this lightly used stocker for peanuts on eBay. |
 |
|
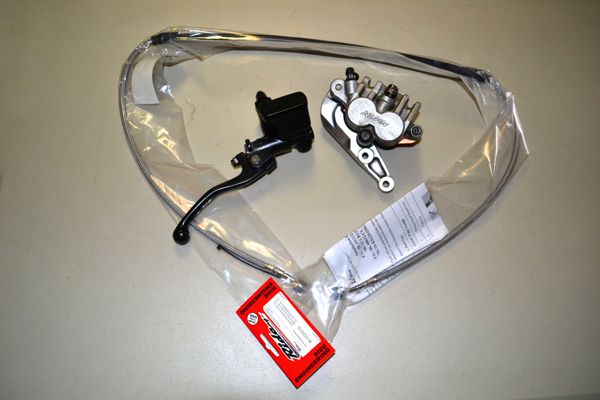
As I mentioned in installment one, the brakes on the CR were pretty grim as delivered. There was no bite at all and a pretty crappy feel overall. In an effort to bring back a little pucker power, I found a compete 1994 CR250 front brake assembly on EBay for $20. The 1994 master cylinder uses a shorty lever that can be adjusted for reach (something I sorely missed back in 1990) and has a traditional banjo fitting instead of the odd threaded line the ’84 -’91 CR’s use. This meant I could use a braided steel line from the guys and gals at Ride Engineering to reduce the spongy feeling at the lever. |
 |
|
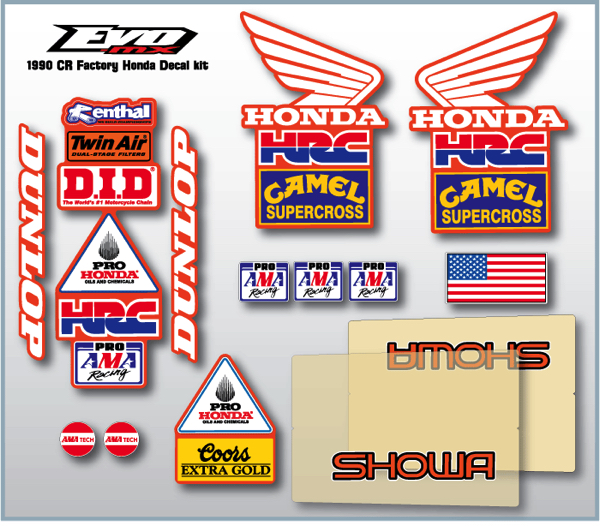
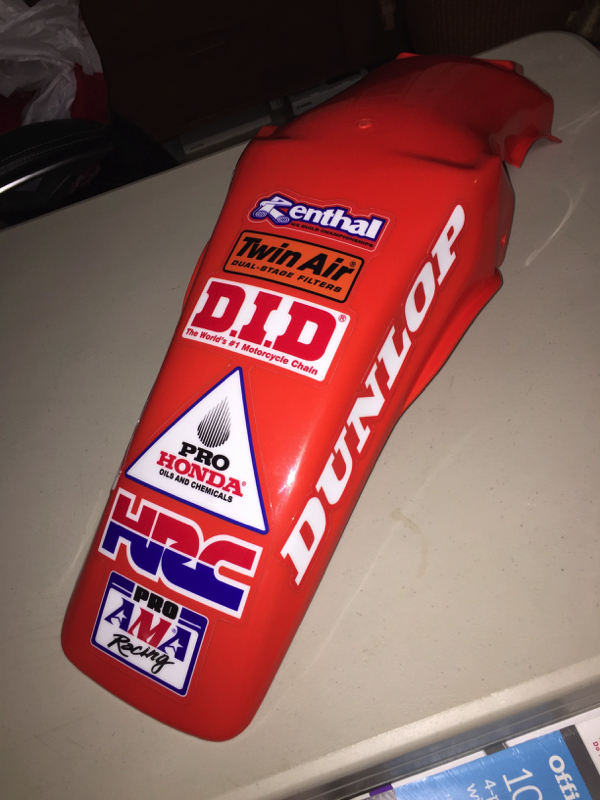
I was having a heck of a time sourcing all the decals I needed for my Stanton Replica. I found some Pro Honda decals on Ebay, but the Coors decals were MIA. Also, all the Showa, Renthal and DID decals I have found use an updated font that is not right for the period. When I mentioned my frustrations to Frank at Evo-MX, he said they were in the process of putting together a Factory Honda replica kit that would be coming out in a few weeks. Well, to say this was an answer to my prayers would be an understatement. This kit comes with everything I need and has saved me a ton if work scouring the interwebs. |
 |
|
The kit looks amazing and is a 100% replica of what the Honda boys were running in 1990 (all except Rick Johnson, who ran Bridgestone that year for some odd reason). |
 |
|
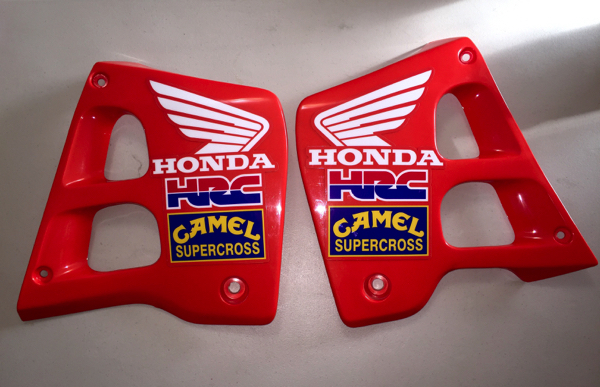
These are easily my all-time favorite Factory Honda graphics. One interesting fact I had never noticed until today is that these Honda graphics are actually about 10% bigger than the original ones that came on the bike. You don’t really notice it until you stick these on and see how much more they fill out the shrouds. When you place them side-by-side, it is actually a pretty big difference. |
 |
|
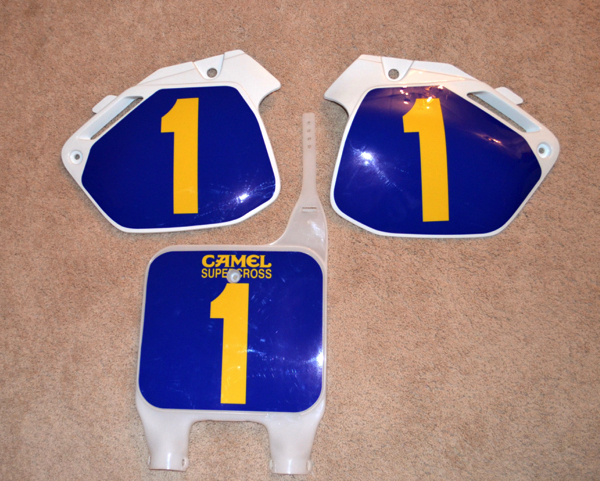
I am so beyond psyched for how cool these plates look. I scored a sweet Factory replica translucent front plate from Europe and got Evo-MX to once again supply me with some ultra-badass Stanton replica plates. Man I can’t wait to start putting this bad boy back together. |
If you missed installment 1 and 2, here are links to follow along with my progress.
http://pulpmx.com/stories/look-back-old-moto-mags/gps-classic-steel/project-’90-red-rooster
http://pulpmx.com/stories/look-back-old-moto-mags/gps-classic-steel/project-90-blaze-part-2
If you have any questions or comments about the project, I would love to hear it, so feel free to leave a comment or hit me up on social media -@tonyblazier on Instagram and Twitter.


